


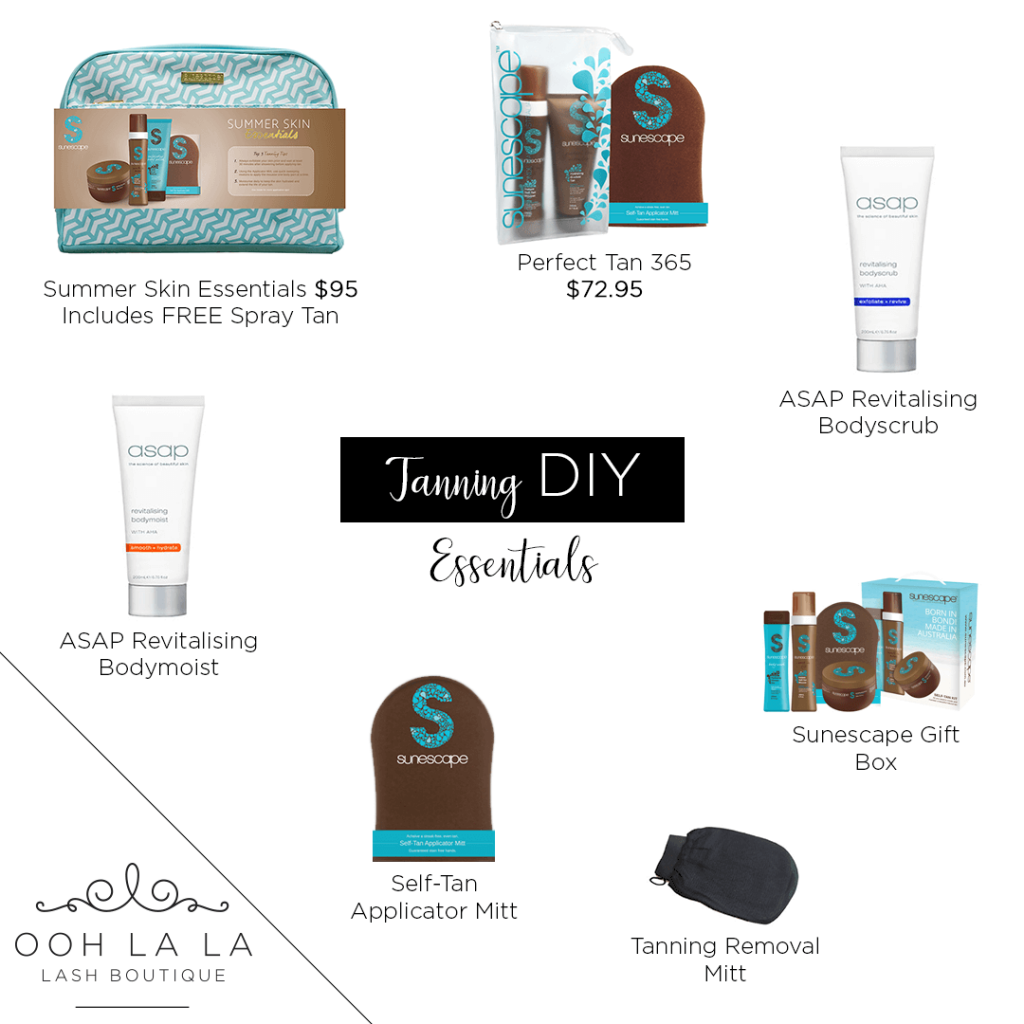
DIY tanning need not be a disaster! all you need to know if the insider tips, tricks and products to assist you in achieving a gorgeous glow. Not an orange hue.
ESSENTIAL TIP ONE
YOUR CANVAS
In order have a streak free, even tan you must ensure that the canvas you are working on is in peak condition.
2-3 days before you tan start applying moisturiser morning and night, preferably asap revitalising body moisturiser. WHY? This moisturiser is not just going to hydrate your skin, it contains, AHA’s that gently eat away at your dead skin cells and encourage new cell turnover. Your skin will have never felt softer and be perfectly prepared for you tan.
ASAP REVITALISING BODY MOIST
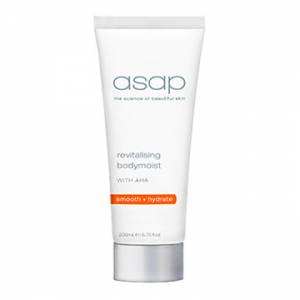
Click here to view product
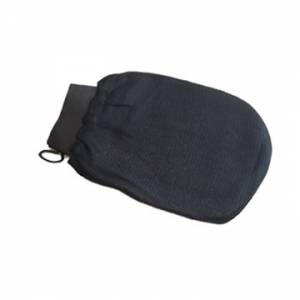
THE REMOVAL METHOD
If you are a regular tanner whose weekly beauty routine involves the strip down and reapplication of a new glow, this does not need to lead to build up dry skin.
Simply by using your AHA based moisturiser will start to break down the tan. For our regular tanners we recommend that they use the body moisturiser the night before and morning of the day they wish to reapply. That night when you have your shower using the Tanning removal mitt, simply buff gently. This will remove all excess tan and have your skin super soft ready for a fresh coat of colour.
THE APPLICATION ACCESSORIES
If you are not using an application mitt you are almost guaranteeing that you will get the dreaded orange hands and you simply cannot work the product into the skin properly as its all being absorbed into your palms. Mitts are essential, keep fresh by placing in the wash regularly in a delicates garment bag. It will be the best $10.95 you ever spent as depending on use they generally last around 6-12 months before they need replacing.

